Repairing Asteroids
Repairing Asteroids ATTACH
Asteroids is one of my favorite games, and I’ve owned numerous cabinets over the years. If my memory serves, I’ve had three uprights and three cabarets. My current keeper cabinet is cabaret s/n 750, which I took to the Portland Retro Gaming Expo from through . Several former Atari employees were there, including Ed Logg (the programmer of the game) who was kind enough to autograph my game.
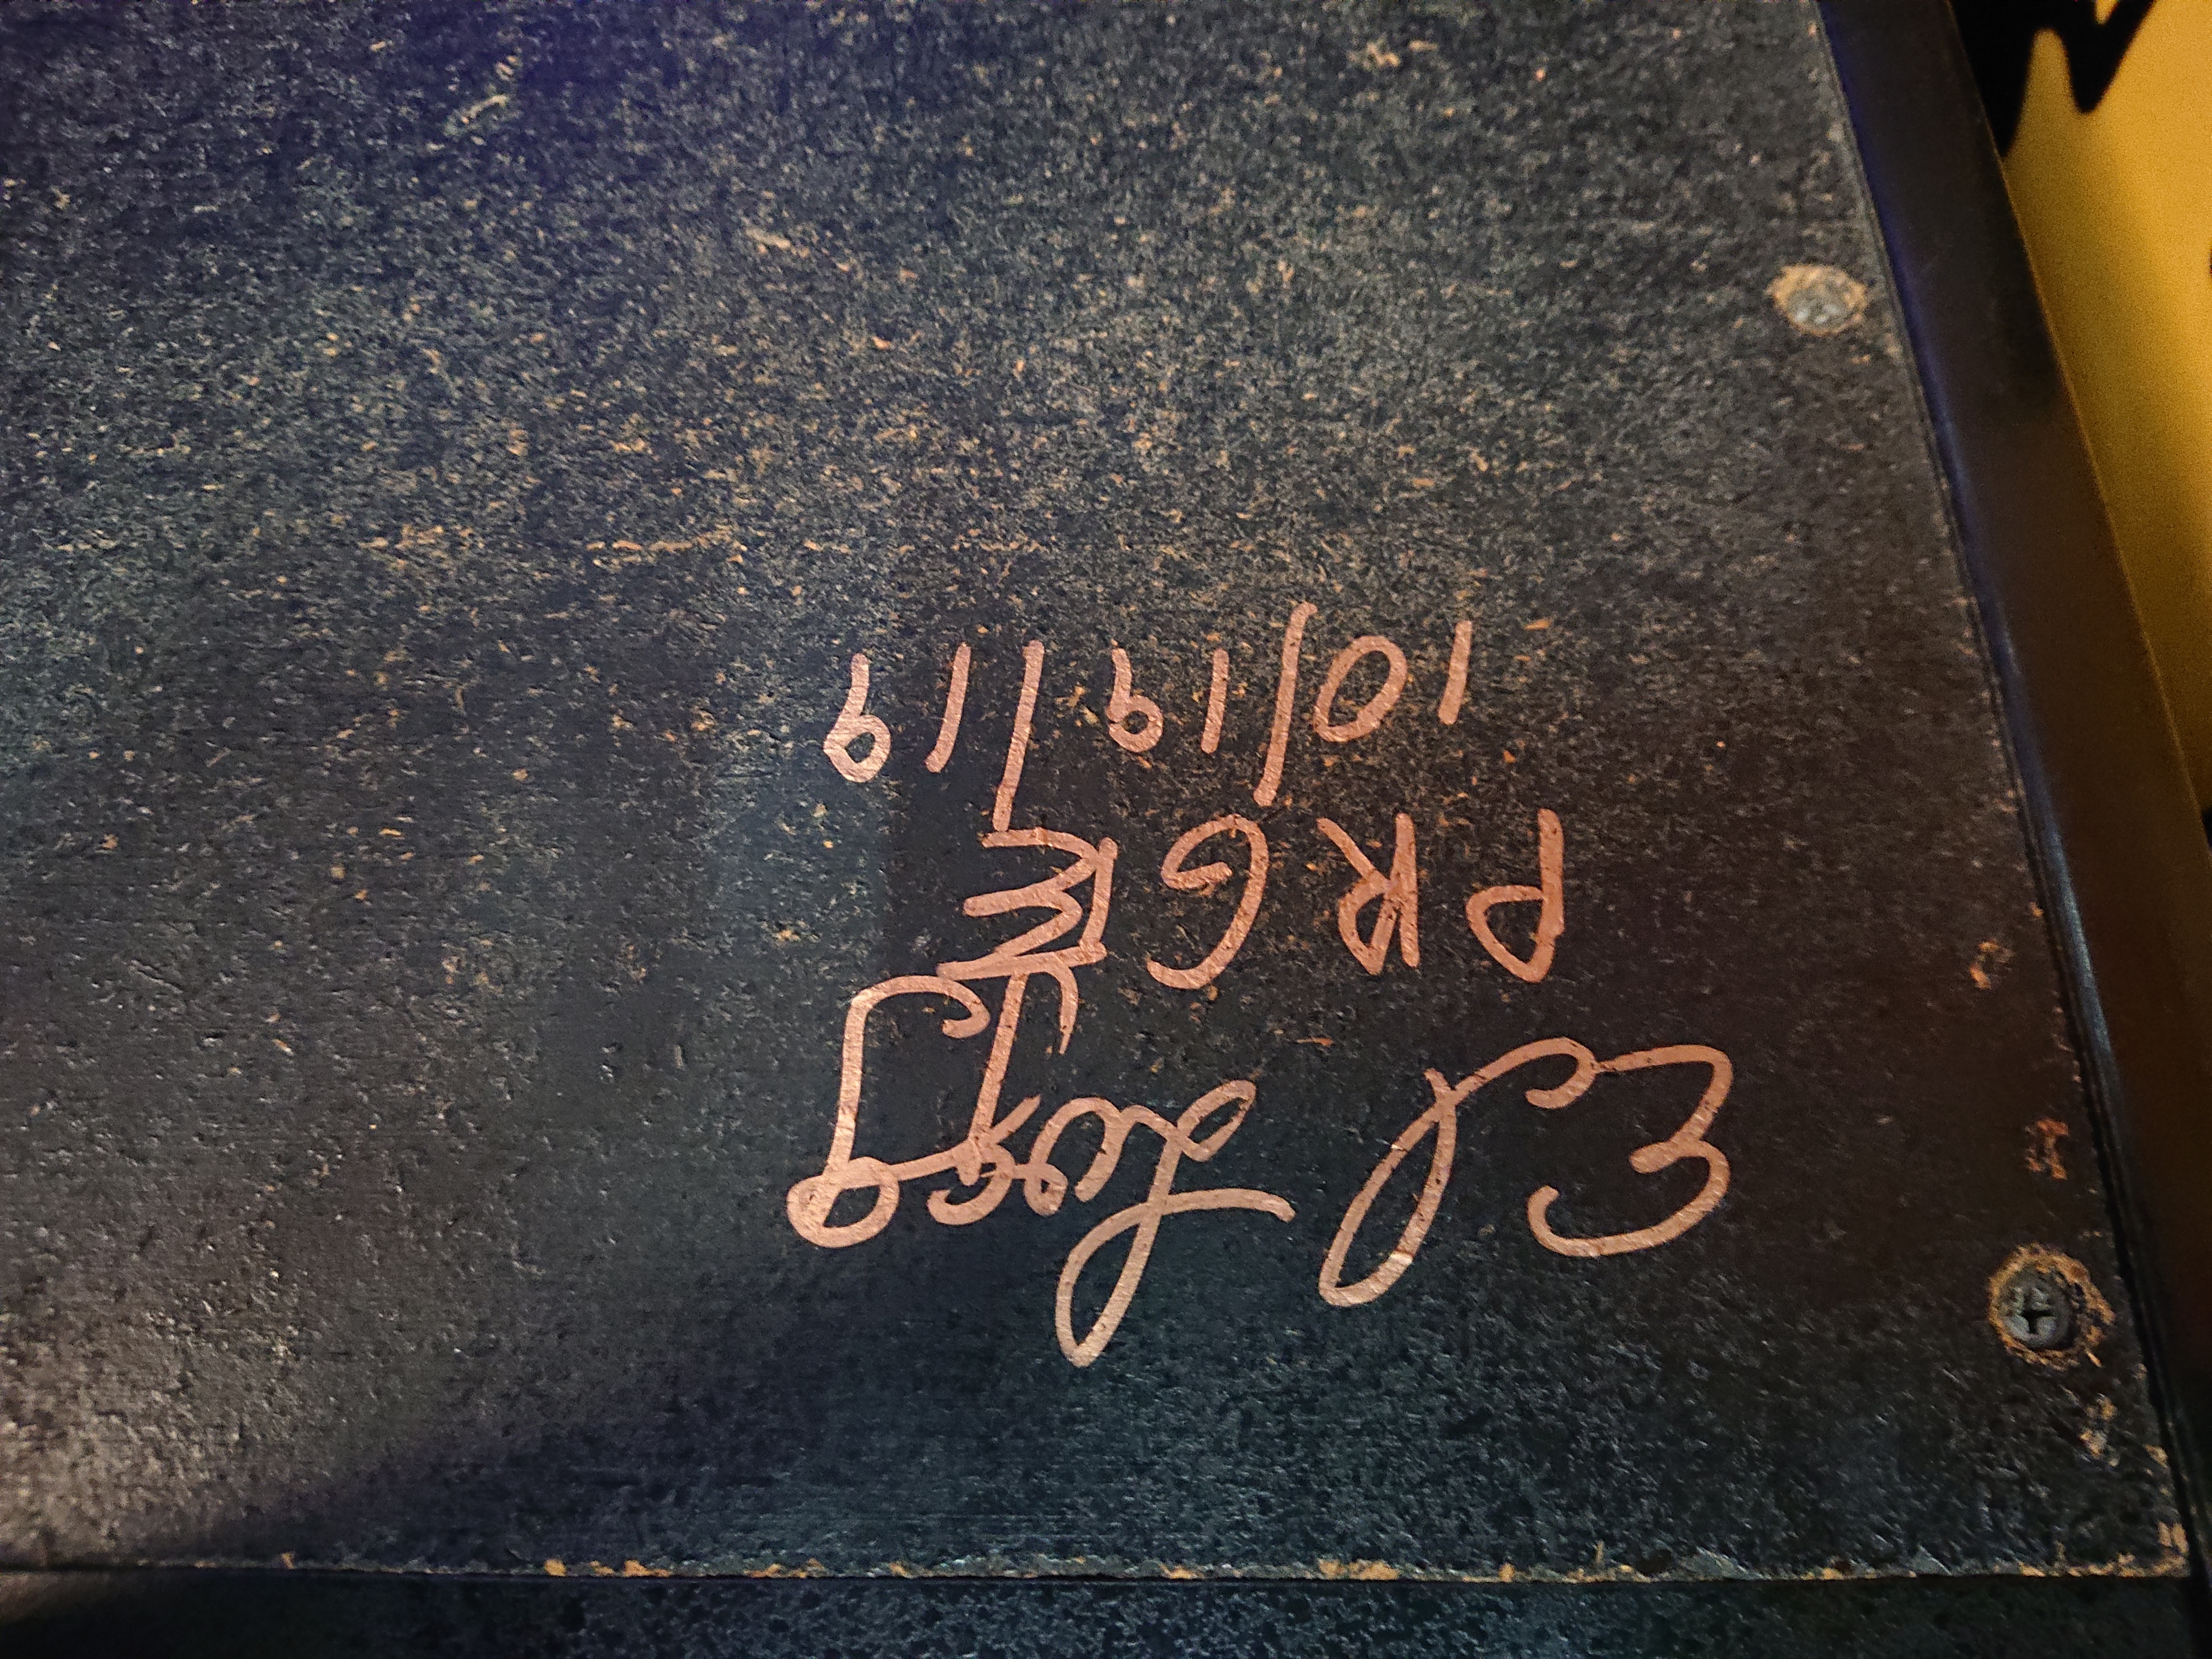
Figure 1: My Asteroids, autographed by Ed Logg.
The game made it through the show just fine, but when I put it back in its spot in my game room and turned it on, it was playing blind1.
This is a newer acquisition, so I haven’t gone through it; some problems are to be expected.
I pulled the machine back out of the row to investigate. I found:
- The neck of the monitor was glowing. With raster monitors, this is usually a very good sign, because the 6.3V for the tube filament (which is what’s glowing) comes off the flyback, which means that things are mostly working. But, on these B&W vectors, the power comes from a winding on the transformer in the bottom of the cabinet, so this doesn’t tell us anything about the state of the monitor.
- The spotkiller LED was off. This lights up if the monitor has gone into shutdown because no video signal is present. When the LED is off and the monitor isn’t working, that points to an issue with its power supply.
So, I removed the monitor and started looking things over. Right away, I found that fuses F100 and F101 on the monitor’s deflection board appeared to be blown. I tested them anyway, by pulling one end out of the fuse holder and using a multimeter in continuity test mode. You always want to disconnect at least one end of the fuse from the circuit to test.
And they were, indeed, blown.
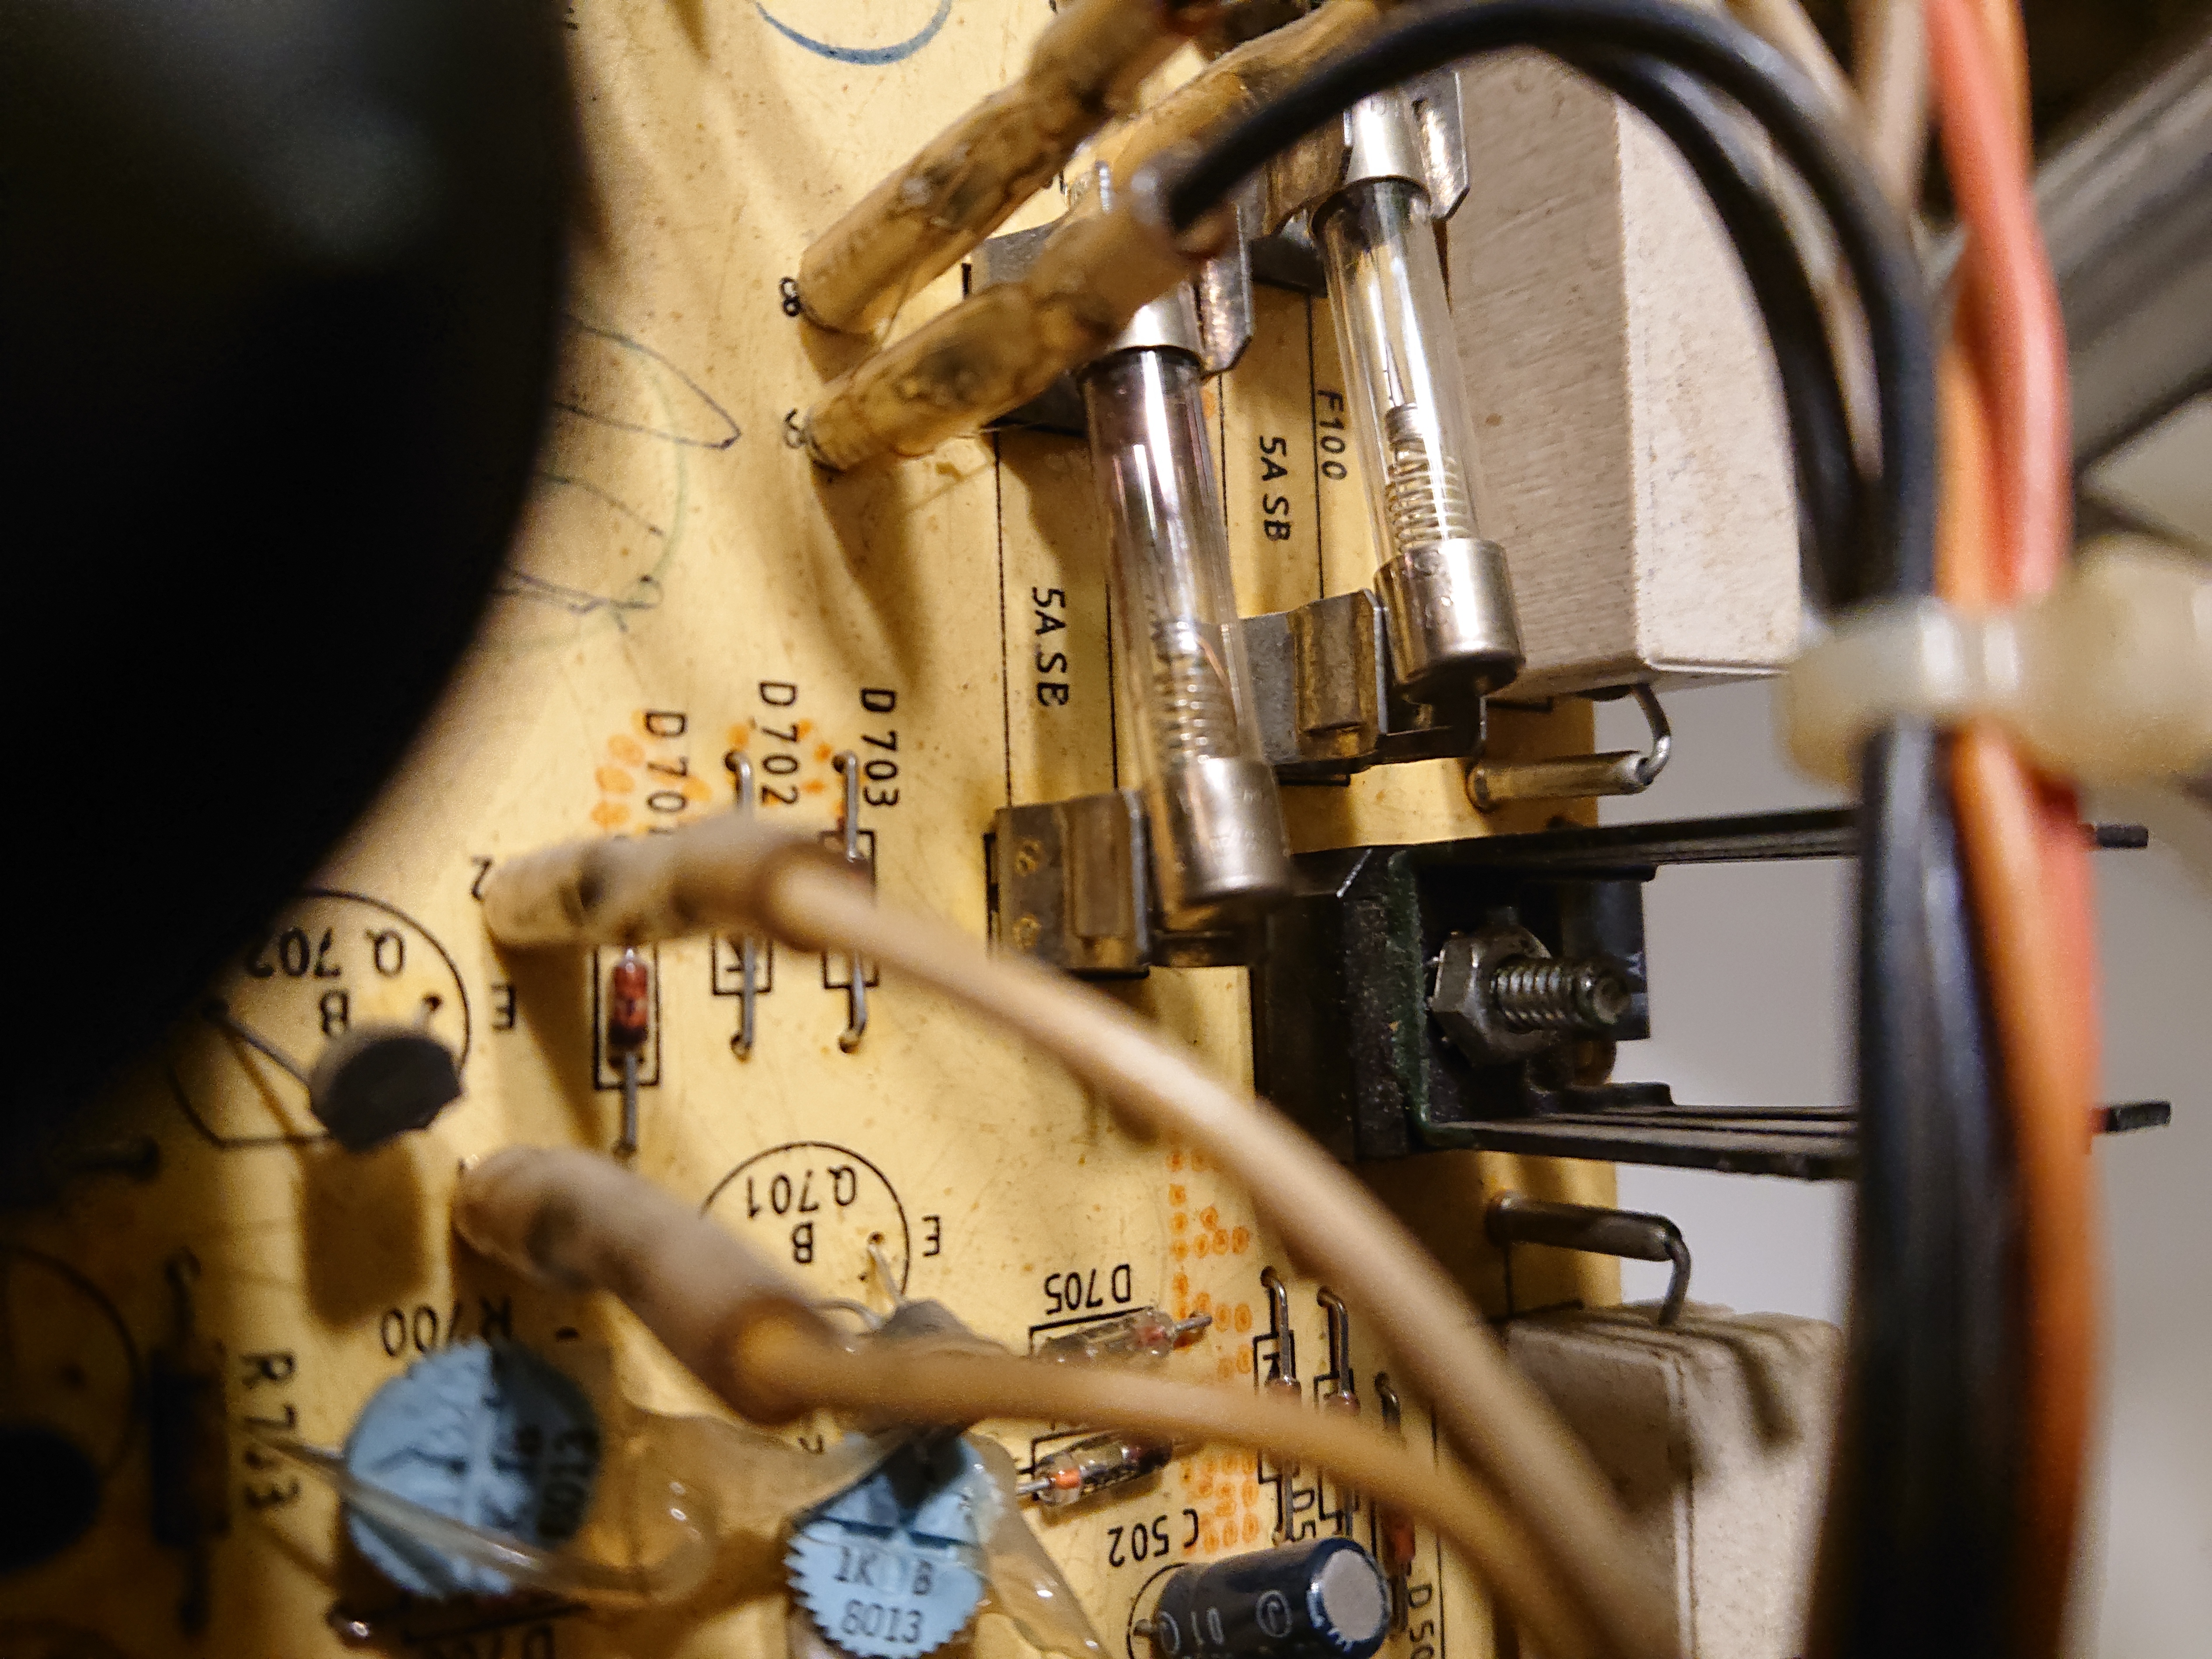
Figure 2: Blown fuses
These games came with either a Wells-Gardner 15V2000 or an Electrohome G05-805 15" B&W vector monitor. Atari made the design, then had Wells and Electrohome manufacture them, so they’re very similar, but not identical. This machine has a the Electrohome version.
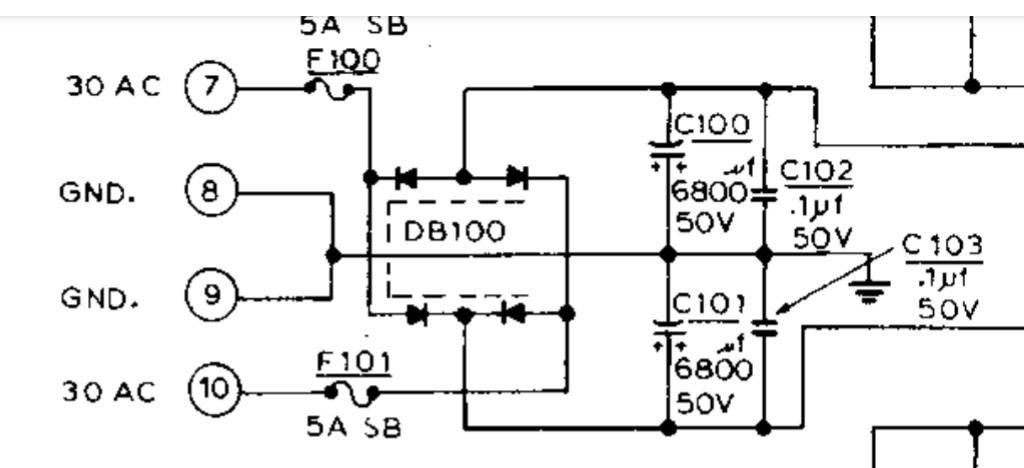
Figure 3: Power supply schematic
Pulling up the schematic, you can see that this is a very simple unregulated AC-to-DC power supply, with a bridge rectifier, two filter caps, and two decoupling caps.
The fuses protect the AC side of the diode bridge, so it’s a fair bet that they blew because DB100 failed short and started drawing too much current. So, out that comes for testing.
As the schematic shows, DB100 is four diodes potted into a single component with four leads. It can be tested using the diode function of a multimeter, which I did, and found it shorted.
I didn’t have a new replacement handy, so I pulled one from a parts monitor and put it in. I also did a field modification; later revisions of these monitors deleted resistors R100/R101, because they weren’t necessary, but had a high failure rate. They can be bypassed by soldering 18ga wire across them, which is what I did.
Next, test. One thing I’ve learned from working on electronics of all kinds is: if you reassamble something before testing it, it definitely will not work.
I have an extension cable I made for this purpose, which lets me hook the monitor up to the game while it’s sitting outside the cabinet. So, I did this, flipped the power on, and... success!
Back into the cabinet it went. I also took a few minutes to vacuum out the inside of the cabinet, clean dust off the CRT face, etc.
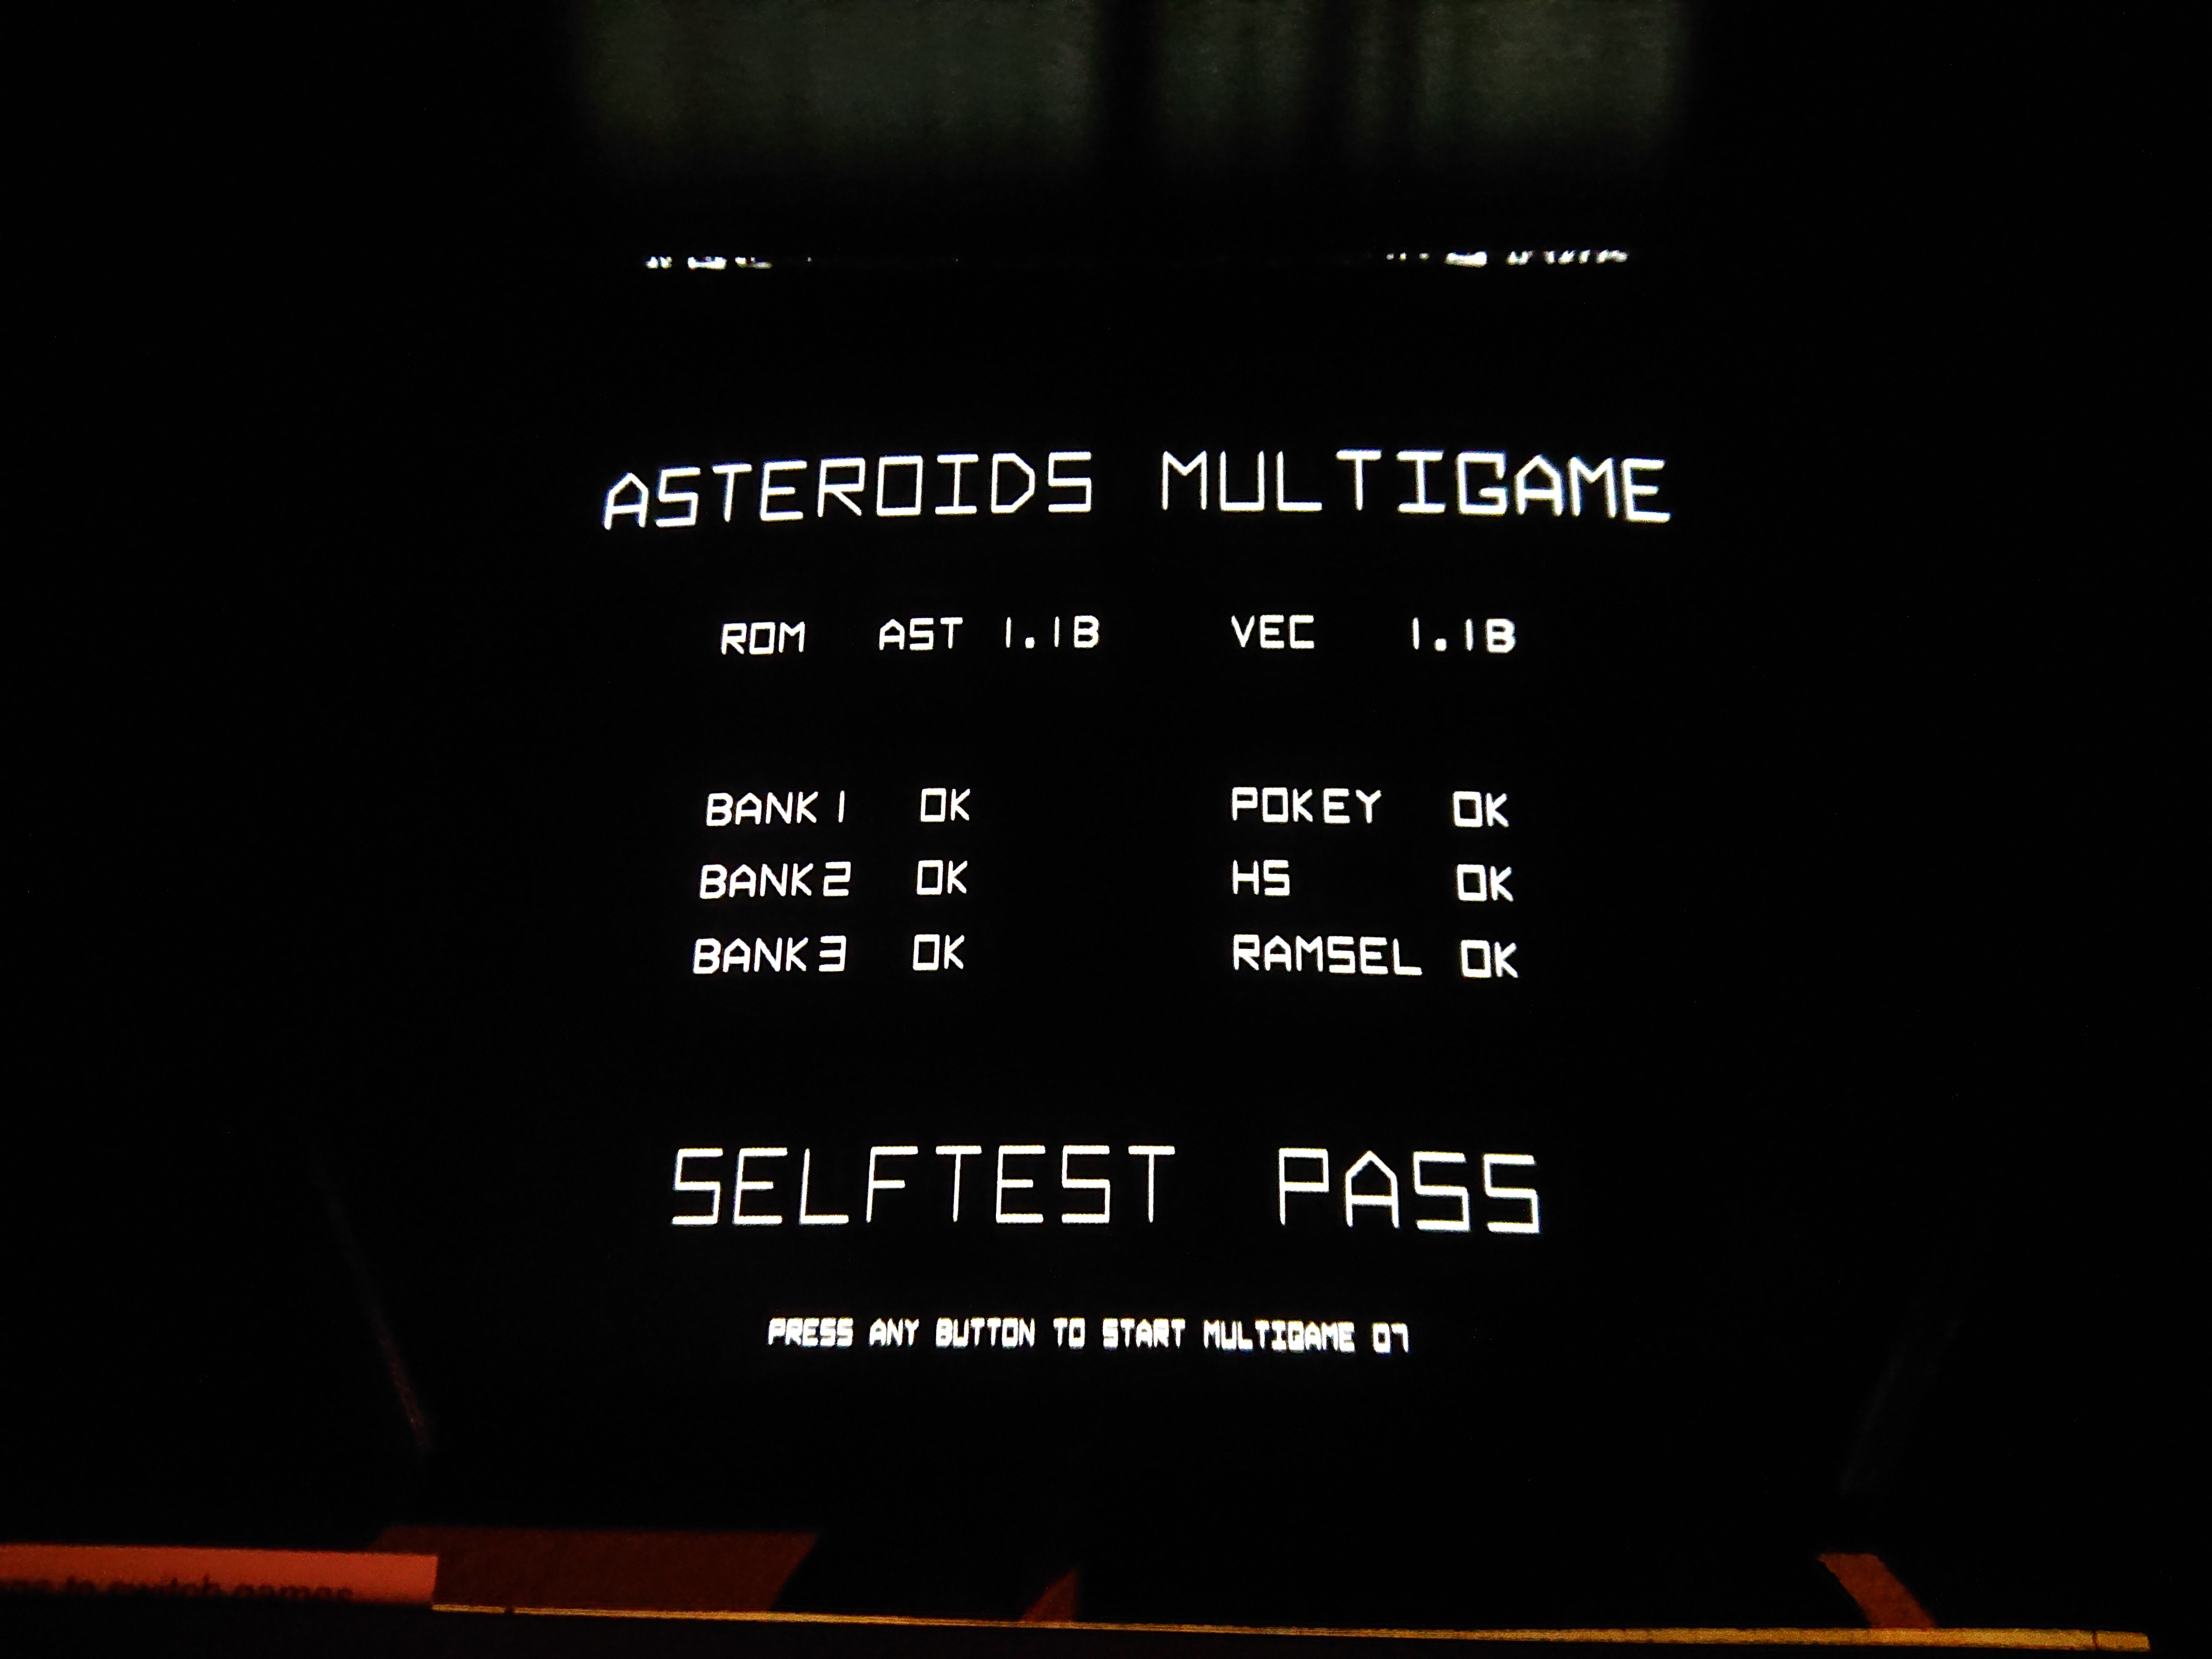
Figure 4: The Asteroids multi-game bootup splash screen
Footnotes:
"Playing blind" means the game appears to be working, but isn’t displaying an image.